How to Place a GitCommits Bounty on a GitHub Issue
Introduction to Git Commits
GitCommits is a platform that bridges the gap between Product Owners and Contributors by enabling Product Owners to place a bounty on their GitHub issues, which are then taken on and delivered by our vast pool of talented developers.
In this tutorial, we will see how to sign up with GitCommits, place bounties on your GitHub issues, and Git Work Done!!
Step 1: Sign Up to GitCommits
GitCommits supports multiple social media account logins such as GitHub, PayPal, Facebook, and Google. So please go ahead and sign-up with any one of them.
Step 2: Connect to PayPal as A Product Owner
GitCommits uses PayPal to process payments to Contributors.
Therefore, you will have to connect your PayPal account and authorize GitCommits to handle payments on your behalf.
Don’t worry if you don’t have a PayPal account yet. You can create one in the same window and carry on!
Payments are processed on your behalf only when you merge a contributor’s Pull Request into your GitHub project or explicitly approve a contributor’s work on the GitCommits bounty page.
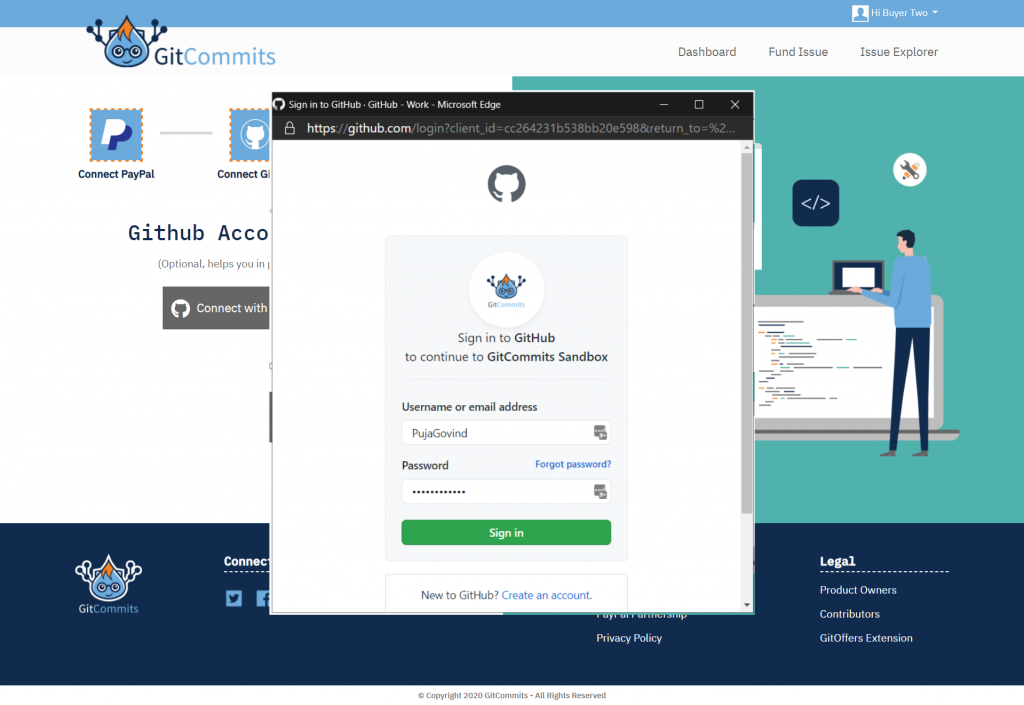
Step 3: Connect Your GitHub Account
GitCommits needs to integrate with your GitHub account to fetch Open Issues and create bounties on them.
Please ensure access to all the repositories and organizations that would like GitCommits to search during bounty creation. If you miss giving the Organization Grant now, you can go to GitHub → Profile → Settings → Application → Oauth Apps → GitCommits and provide Organization Grant.
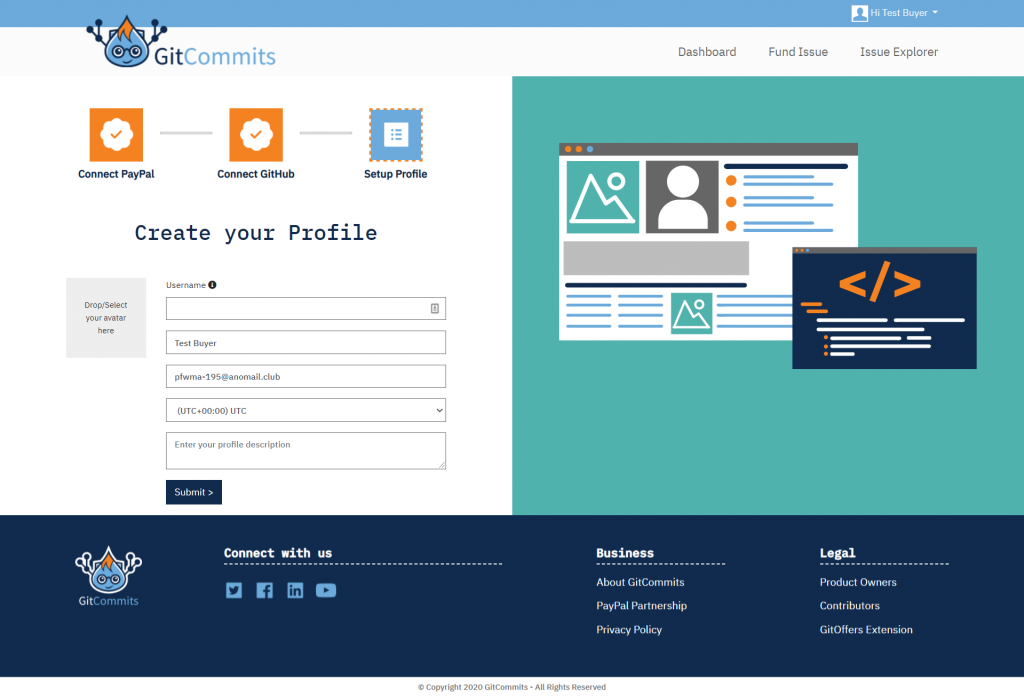
Step 4: Set-up Your Profile
Here, you will need to provide some basic information about yourself. These details will be used to send notifications to you and improve your overall GitCommits user experience.
Step 5: Fund Your GitHub Issue(s)
Go to the “Fund Issue” page, search, and add your GitHub issue(s).
Whenever you select a GitHub issue, we automatically pull details from it. However, you can still update any of these details manually. Moreover, you will still have to fill in some of these details, such as Project Type, Issue Type, and Experience Level, by yourself.
Set a price for your bounty and select an expiry date. After that, you can click on the “Fund Issue(s)” button to submit your bounty.
For a traditional project, you will have to approve a contributor before they can start work.
Whereas for a contest type project, a contributor can start work at any time without needing explicit approval from you.
Step 6: Approve Work and Pay the Contributor
There are two ways you can approve work that is submitted by a contributor.
6.1 Approve Work by Merging the GitHub Pull Request
Any Pull requests submitted by contributors for your Issue will be visible in the Issue detail page.
Review the Pull request’s code and merge the pull request into your Github project.
Payments will automatically be processed from your PayPal account when your merge a Pull request for an Issue Funded by GitCommits.
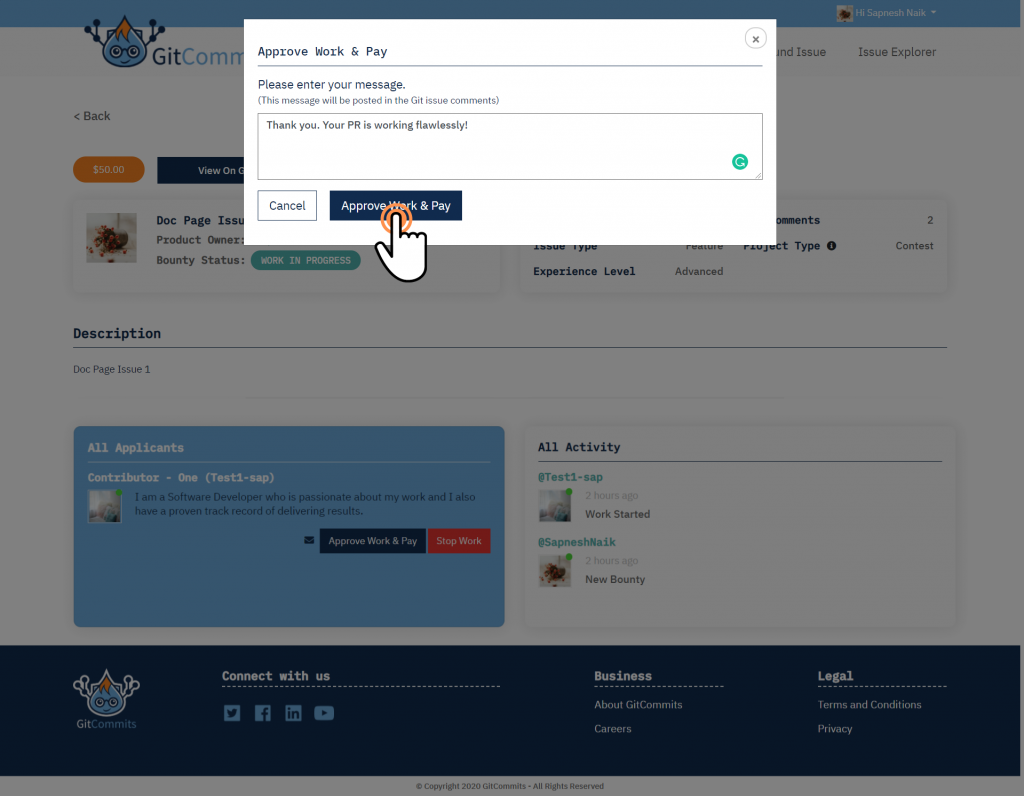
6.2 Approve Work Manually
You can also manually approve work and initiate a payment from the Issue detail page. You can also use this method if the automatic payment on a Pull Request merge did not work for you.
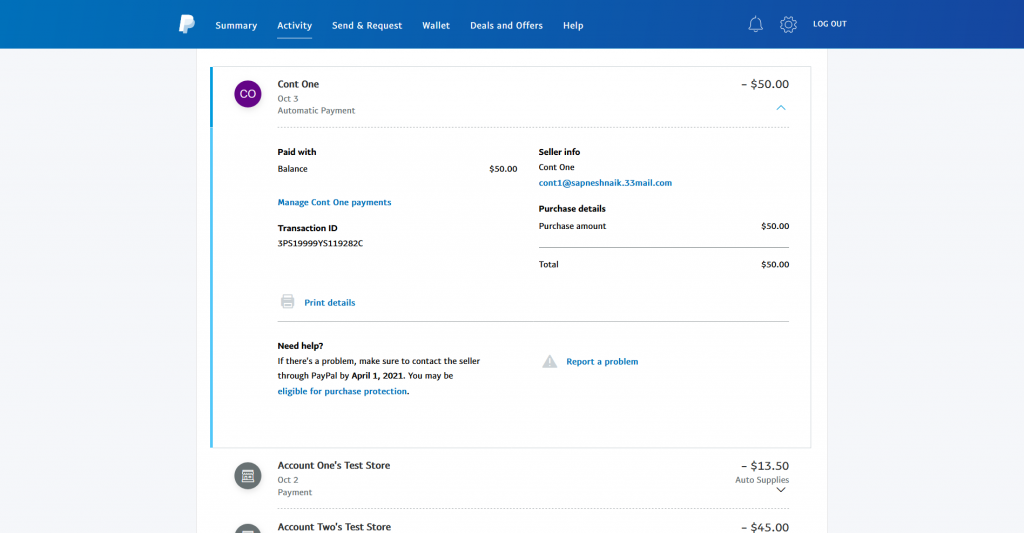
All records of past transactions and payments are available on the transactions page. You can also download individual payment invoices here.